Rick’s 908 Yard Shot

Posted in Karsten Adjustable Cheek Rest, Tactical Works Home, TikkaT3 on October 24th, 2012 by Team TW


Rick's 908 yard shot

Rick’s 908 Yard Buck


Hi Lisa, Pic of the buck I made a “Long Range shot” on this past  weekend with the Karsten Cheek Piece I ordered from you folks. (908  yards thru the shoulder with a Tikka T3, 300 Win. Mag…..and Karsten  Cheek Piece added) I have three other McMillan stocks I would like to  add the cheek pieces to so I will be in touch. Great job on a great  product that was extremely easy to install myself……and thanks for  getting it mailed to me so fast!

Best regards,

Rick

Molding a Karsten Cheek Rest

Posted in DIY, Karsten Adjustable Cheek Rest, Tactical Works Home on January 18th, 2011 by Team TW
Karsten Kydex Cheek Rest

Molding a Karsten Cheek Rest to a Choate Tactical Stock

 Molding a Karsten Cheek Rest for a better fit. Karsten’s Cheek Rest “out of the box” is usually a perfect fit for most stocks. In some cases however, the “out of the box” cheek rest may be a little too wide or a little too narrow for a perfect fit. In those cases the cheek rest can be molded for a better fit.

Read more »

Tags: , , ,

Just Added: Karsten Cheek Piece A-model installation Instructions

Posted in DIY, Karsten Adjustable Cheek Rest on January 26th, 2009 by Team TW

Link to Karsten A-Model installation page

Tools needed:

  • Handrill
  • 1/4 Drill Bit
  • Pencil

Karsten “A” Kit:

  • 1-Saddle
  • 2-1/4 bolts
  • 2-Lock wheels
  • 1-Rubber pad

Estimated Time:

  • Less than 1 hr.

The first step in the installation of the A-model is to decide where on the stock you want the rest to sit. On bolt action rifles make sure you can cycle and remove the bolt once the cheek rest is installed.

Checking placement and bolt clearance

The bolt is pulled all the way to the back of the action as if it is going to be removed for cleaning.

Check the placement and the bolt clearance a few times to make sure it fits and the bolt will clear the saddle.

Mark all 4 top hole locations (left and right side of the stock) with a pencil or other marking device that will be visible once the saddle is removed from the stock.

Holes marked for Karsten Cheek Piece Install
Holes marked for drilling

Once all 4 holes are clearly marked get our your hand drill. This is the tough part. You’re going to be drilling four, 1/4″ holes in your stock.  Don’t worry, if you’ve checked the bolt clearance and you like the position of the saddle on the stock, it will all come together.

The stock we’re adding the Karsten cheek piece to is the stock Savage “tupperware” model which, is hollow, foam filled plastic. The hollow plastic stock is very easy to drill through.

With your hand drill use a 1/4″ bit and place the bit in the center of your first mark and drill. Slower is better here. You may want to center punch the marks and drill a pilot hole if you’re a perfectionist. We didn’t and everything lined up nicely.

Drill all 4 holes (two holes on the left side of the stock and two on the right) until you are through the plastic and into the foam.

Drill each hole through the plastic into the foam.
Drill each hole through the stock into the foam.

After all four holes are drilled, slowly align the back two holes by passing the drill bit in one hole out the other. Repeat on front holes.

Clean out the holes by drilling through both holes

Once you’ve cleaned out the holes in the stock, wipe the debris off the stock and slide the saddle over the stock.  With the saddle on the stock simply insert the bolts through the holes, and thread the lock knobs on.

Optional:

Included in the kit is a sheet of 1/8th inch rubber that can be glued to the upper exterior surface for a better contact area with the cheek. If you are in hot conditions and/or wear face paint regularly  affixing the rubber sheet will give you a more consistent, no-slip, cheek weld.

Suggested glue is  3M 80 or Hi Strength 90 to glue rubber in place.

Finished Product
Finished Product
Tags: , , , , ,

Just added: Karsten Cheek Piece B-Model Installation Instructions

Posted in DIY, Karsten Adjustable Cheek Rest on January 26th, 2009 by Team TW

Link to Karsten B-Model Installation Instructions

Karsten Cheek Piece B-Model Kit

Tools needed:

  • Handrill
  • 1/4 Drill Bit
  • Pencil

Karsten “B” Kit:

  • 1-Saddle
  • 2-1/4 bolts
  • 2-Blind nuts
  • 1-Rubber pad

Estimated Time:

  • Less than 1 hr.

The first step in the installation of the B-model is to decide where on the stock you want the rest to sit. On bolt action rifles make sure you can cycle and remove the bolt once the cheek rest is installed.

Checking placement and bolt clearance

The bolt is pulled all the way to the back of the action as if it is going to be removed for cleaning.

Check the placement and the bolt clearance a few times to make sure it fits and the bolt will clear the saddle.

Mark all 4 top hole locations (left and right side of the stock) with a pencil or other marking device that will be visible once the saddle is removed from the stock.

Holes marked for Karsten Cheek Piece Install
Holes marked for drilling

Once all 4 holes are clearly marked get our your hand drill. This is the tough part. You’re going to be drilling four, 1/4″ holes in your stock. Don’t worry, if you’ve checked the bolt clearance and you like the position of the saddle on the stock, it will all come together.

The stock we’re adding the Karsten cheek piece to is the stock Savage “tupperware” model which, is hollow, foam filled plastic. The hollow plastic stock is very easy to drill through.

With your hand drill use a 1/4″ bit and place the bit in the center of your first mark and drill. Slower is better here. You may want to center punch the marks and drill a pilot hole if you’re a perfectionist. We didn’t and everything lined up nicely.

Drill all 4 holes (two holes on the left side of the stock and two on the right) until you are through the plastic and into the foam.

Drill each hole through the plastic into the foam.
Drill each hole through the stock into the foam.

After all four holes are drilled, slowly align the back two holes by passing the drill bit in one hole out the other. Repeat on front holes.
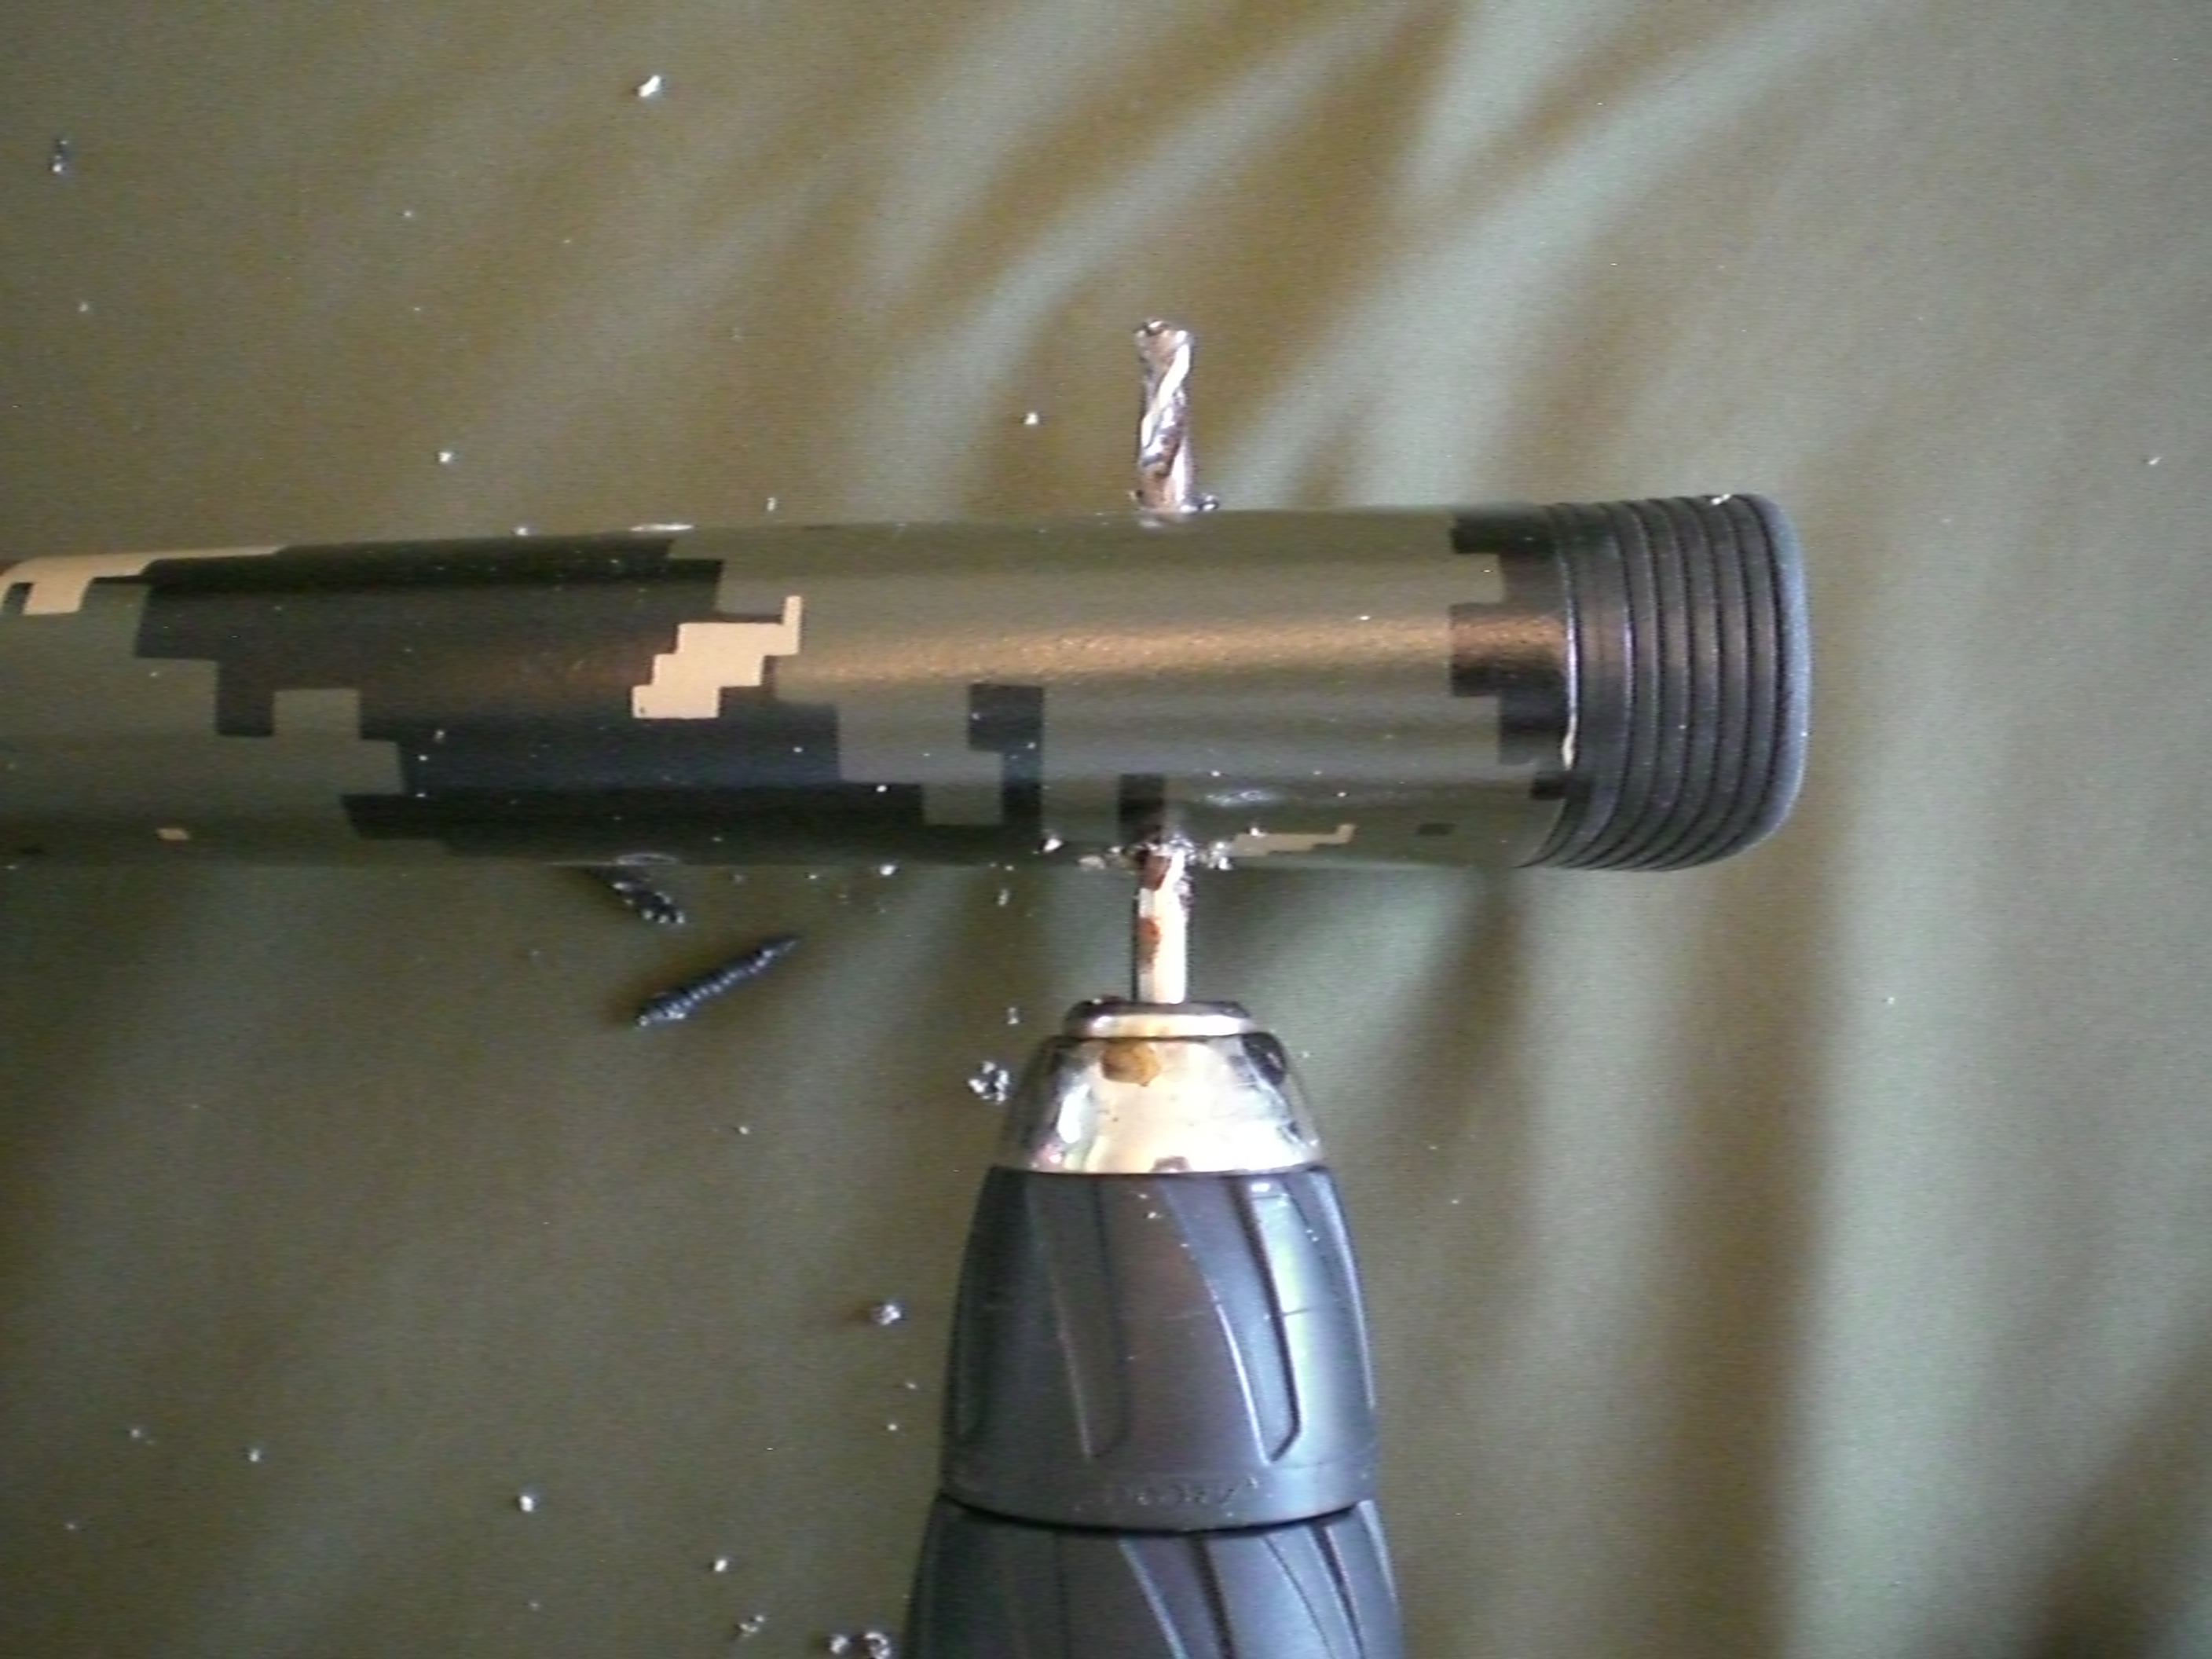
Clean out the holes by drilling through both holes

The B-Model is a little more work than the A-Model because of the blind nuts/inserts.  To accommodate for the width of the inserts it is necessary to expand the 1/4″ hole to a 3/8″ wide x 1/2″ deep in the left side (cheek side) of the stock.
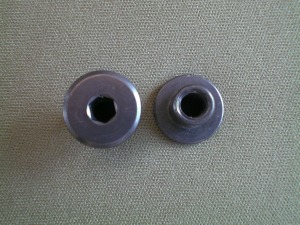
Allen insert 3/8" x 1/2"
Blind nut/insert 3/8″ x 1/2″

To do this use a 3/8″ drill bit and simply ream out the two existing holes on the left (cheek side) of the stock. Our example is again, the OEM Savage “tupperware” so we only needed to drill through the plastic which was pretty thin.

Drilling existing holes for the inserts.

Once your holes are done you’re ready to test fit the saddle and bolts. In many cases the bolts will need to be shortened to get the right fit. Our stock is pretty narrow so the bolts had to be shortened.

Bolts are sticking about 1/4 through the stock

To Shorten the bolts a hand grinder was used to trim off about 1/4″ of the bolts.

Mark the threads where they need to be cut down. We needed to trim about 5 threads off each bolt. We cut the bolts flush with the stock.

The bolts were marked by threading on a nut to where the cuts need to be. The nuts were then taped into place with painters tape. The cuts were made with the bolts out of the stock. After the cuts, the tape was removed and the bolt was backed off to clean up the threads. CAUTION! The bolts do get hot. Wear gloves or let the bolts cool before handling.

Slide the saddle back on the stock, run the bolts through the saddle and stock then thread on the blind nuts/inserts.  If the bolts are still to long do a little more trimming and repeat until you achieve a good fit.  If the bolts can be tightened enough to secure and hold the cheek piece in position you’re done. Adjust the saddle to your liking, tighten the inserts with a 3/16″ allan/hex key and go shooting!

Optional:

Included in the kit is a sheet of 1/8th inch rubber that can be glued to the upper exterior surface for a better contact area with the cheek. If you are in hot conditions and/or wear face paint regularly affixing the rubber sheet will give you a more consistent, no-slip, cheek weld.

Suggested glue is 3M 80 or Hi Strength 90 to glue rubber in place.

Karsten Cheek Rest B-Model Finished
Tags: , , , , ,

Karsten’s Tips and Tricks

Posted in DIY, Karsten Adjustable Cheek Rest on January 22nd, 2009 by Team TW
Karsten Cheek Piece Tips and Tricks

Karsten Cheek Piece Tips and Tricks

Link to Karsten’s Tips and Tricks
I use a drill press as it makes it a lot easier keeping everything plumb. I also use a small torpedo level (6 inch plastic available at Home Depot if you don’t have one for about $4.00, good ones run about $12.00)

I loop a rubber band over one end of the level, place the level on the stock and loop the rubber band under the stock and the other end of the level.

Place the level on the flat portion of the stock just forward of the wrist.

Drill 1/4 inch hole straight through keeping the stock as level as possible while drilling.

SIMPLE Method for use with hand drills.

Position cheek piece and mark for holes on each side. Drill one side half way through

The stock, turn over and drill the other side the rest of the way though.

Elongate one hole should you be off a little after drilling for easier installation.

Note, if you mess up and get a little off on one or both holes just elongate one of the holes horizontally. This will give you some play front to back but still remain secure as the one hole is 1/4 inch.

You will need to counter sink up side of the stock to open the hole up to 3/8 inch but only to a depth of and 3/8’s of an inch. (Only applies to Flush Insert style)

With Insert style adjusters it may/will be necessary to shorten bolt due to varying width, placement or style stock.

Included you will also find 1 piece of 1/8th inch rubber that can be glued to the upper exterior surface for a better contact area with the cheek.

I use 3M 80 or Hi Strength 90 to glue rubber in place.

*If you find the cheek pieces tight on your stock, boil some water and heat the upper surface up and open up gently to fit.

** IMPORTANT, For Bolt Action stocks check the desired position while cycling the bolt at varied heights. Also check to see if you can remove the bolt without lowering or removing the cheek rest if that is important to you.

On AR15 type rifles be sure to drill the through holes lower than the buffer tube and check that the charging handle operates correctly and not blocked by the cheek rest.

Most claim it take 5 to 10 minutes.

Tags: , , , , ,

New at Tactical Works, Inc. Karsten’s Adjustable Cheek Rest

Posted in Karsten Adjustable Cheek Rest, New Kit on January 4th, 2009 by Team TW

We’re honored to offer the Original Karsten’s Adjustable Cheek Piece as a solution for our customers.

If you’re struggling to get a good cheek weld and keep your eye in line with your scope your not alone. With 50mm+ now being the norm for scope objectives, a comb riser or cheek piece is required to ensure a fast, solid, repeatable, reliable cheek weld.

If you have an existing rifle stock and do not have the desire to replaces it with an adjustable stock,  take a close look at this cheek piece.

This is a company who stands seriously stands behind their products. There are thousands of Karsten’s cheek pieces in service all over the world.

In Karsten’s words “If its not combat ready, I won’t sell it!”

Order A-Model

Order B-Model

Tags: , , , ,